
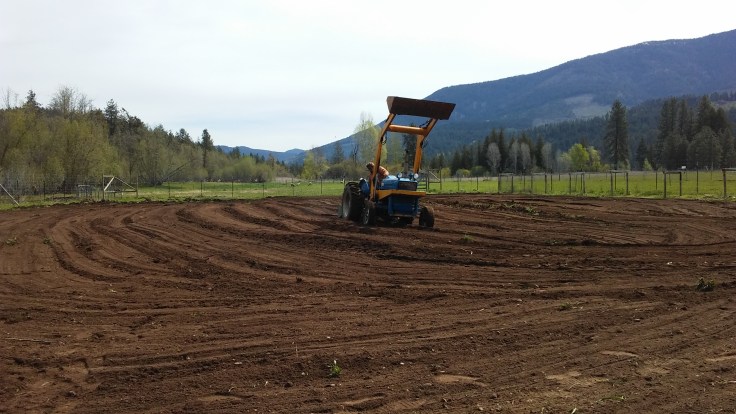
 The rich black loam of the garden had been tilled into one-hundred foot rows, and three were seeded with the red, brown, and gold eyes of Yukon Gold, Russet, and Red Norland potatoes – Dad’s favorite crop.
After about five months, and plenty of weeding and watering they are ready to harvest.
Potatoes do not require a lot of maintenance, and once their tops grow up you don’t even have to weed anymore, but you do have to battle the bugs. They are deadly predators, and if ignored they will mow down your entire crop in a few days, and you will have few to no potatoes.


The first year we attacked these pests with hand-to-hand combat. After chores, in the evenings, in our free time, we would kneel down by our plants, and pick the bugs into cans. We could fill a coffee can full with the bugs we picked off, but we missed the millions of eggs they laid. Before long the crop was devastated. Sadly, we picked our wounded potatoes from the ground and determined to do better next year.
This time we were ready: we knew our enemy. Here in Washington we have the “Potato Beetle” or the “Colorado Beetle”. These bugs burrow in the ground over winter, and come out ready to eat and multiply on the nightshade family. But we had a better weapon. At the advise of a farmer friend we bought some “Captain Jack’s Deadbug” from the local farm-supply. It is a fungus spray that targets the airways of noxious pests, and is non toxic – classified organic!
Applying this spray twice (to kill adults and those that hatched later) the results were magical. The potatoes grew big, green tops, and produced flowers and seeds! But best of all, they had gorgeous, giant, potatoes.
Eventually, the foliage withers and dies, the days start freezing, and we realize it is time 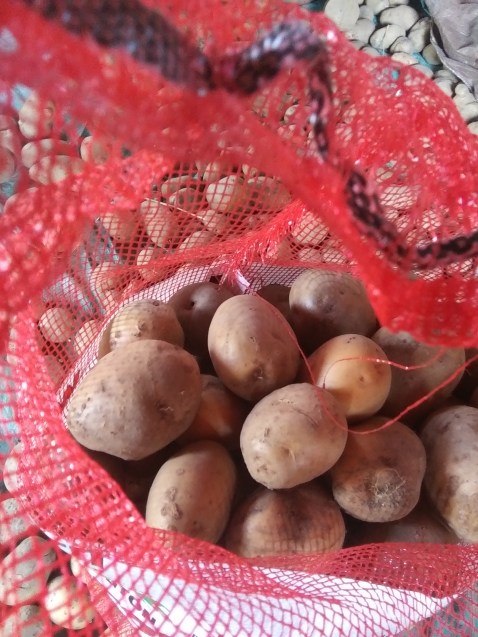 to get the potatoes in before the ground freezes solid. All day we pick potatoes; Dad and Matt work the pitchforks, turning up the dirt covered roots, while we girls come in behind and toss potatoes into the wheel barrow. Slowly, potato by potato the big tarp on the barn floor is filled, and the potatoes are left to “cure” and harden their skins for about a week. Then we fill old feed sacks, sorting by size and keep-ability, and bundle the potatoes into the root cellar.
But, as a celebration, after the picking day is over, and we are all worn out, covered in dirt, and there is a heap of gorgeous, new potatoes, we make fresh baked french fries.
We have found this is our favorite french fry method:
1) Preheat the oven to as hot as it can go (if you cut thin fries) or to about 450 degrees, if you have fatter fries (a little bigger than fast food cut).
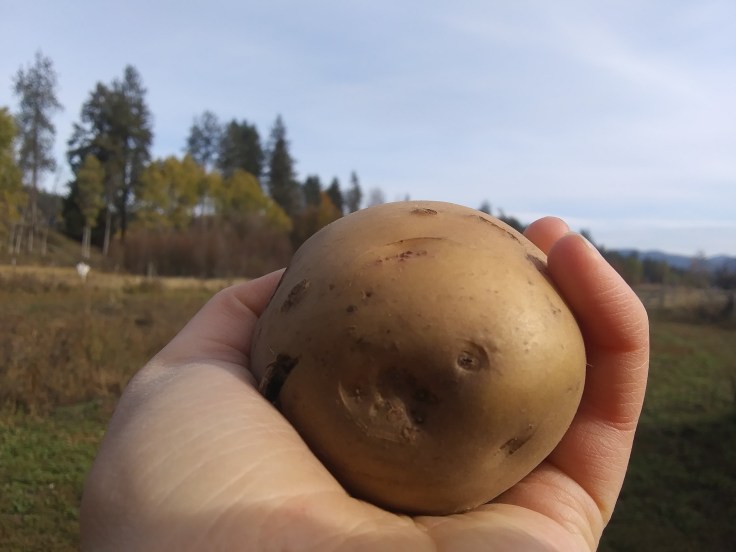
2) Scrub and wash several (depending on how many fries you want) medium sized  or large potatoes. You will also want to cut off any weird or green spots. Dad’s cardinal rule is: “If you wouldn’t eat it, don’t use it”. The green is caused by the potatoes being exposed to the sunshine, and making chlorophyll. It is technically toxic, but it cooks out, and you have to eat a lot to hurt you… We just cut it off, and we aren’t dead yet!
3) Take a big baking sheet, and put about two Tablespoons of butter on it. I leave it in the oven to melt, but you have to make sure it doesn’t burn.
4) While your butter is melting start cutting the fries. Now, this can be tedious by hand (but still totally worth it), so one day we kids bought Dad a fry cutter for his birthday. It has been wonderful! The medium potatoes fit right in, and it works very well. Newer potatoes take more force to cut through. I think it is because their starches haven’t converted to sugar yet like the older stored potatoes. We love cutting super thin fries for max crispiness.


5) In a single layer spread fries on the sheet. If you take the time to line them up you will be able to fit more then if you just tossed them on. The single layer is important: if they are stacked they will steam and not bake.


6) Spray with olive oil and season. We keep a spray bottle of olive oil handy for things like this. You can also use a pastry brush. I like to give it a spritz to help the fries crisp, and then season with salt, pepper, and garlic powder. FYI: potatoes take a TON of salt.
7) Bake! It usually takes ours 20-30 minutes (depending on temperature, and if you are trying to cook two pans at once). Once they are a nice gold flip them to brown the other side.
8) Taste! This is the only real way to tell when they are done. Remember that they will keep cooking a little after you pull them out, and you still want that soft, cooked middle. Feel free to put more seasoning on at any stage.
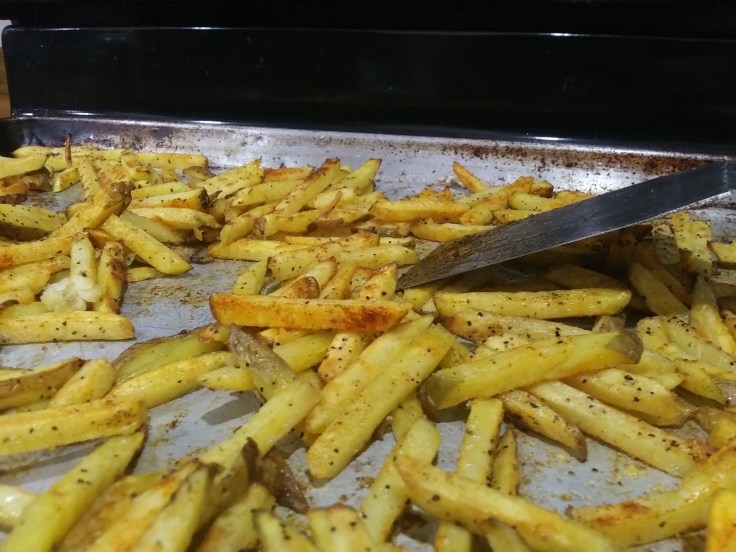
9) Serve! Make sure to make it an attractive pile, with a nice squirt of ketchup on the side. Hamburgers make a natural side, and soda is an excellent choice of beverage.
10) Enjoy! This step take no explanation.
It is always marvelous to realize these grew from the DIRT! Isn’t God good?
Leviticus 26:4
Then I will give you rain in due season, and the land shall yield her increase, and the trees of the field shall yield their fruit.
~Ann

Leave a comment